Launching an ERC-20 token on Gnosis
Overview
This will follow very closely with the steps to deploy an ERC-20 token to Ethereum. An ERC-20 token is a token that follows the ERC-20 Standard. To follow the standard, we will be deploying a contract that implements the following events and functions:
function name() public view returns (string)
function symbol() public view returns (string)
function decimals() public view returns (uint8)
function totalSupply() public view returns (uint256)
function balanceOf(address _owner) public view returns (uint256 balance)
function transfer(address _to, uint256 _value) public returns (bool success)
function transferFrom(address _from, address _to, uint256 _value) public returns (bool success)
function approve(address _spender, uint256 _value) public returns (bool success)
function allowance(address _owner, address _spender) public view returns (uint256 remaining)

event Transfer(address indexed _from, address indexed _to, uint256 _value)
event Approval(address indexed _owner, address indexed _spender, uint256 _value)
For this tutorial, we are going to be using Hardhat.
Prerequisites
To follow along, it's recommended to review and be familiar with the documentation on deploying a contract. This will also follow a lot of the same steps as the Launching an NFT on Gnosis tutorial. You will also need to have a working Node.js >=16.0 installation and a small amount of xDai for gas.
Also, take a look at these important points to consider before creating your token.
Step 1: Set up your Environment
For this tutorial, we're going to use npm and Solidity v0.8.9
mkdir gnosis-token-example
cd gnosis-token-example && npm init && npm install --save-dev hardhat && npx hardhat
Select Create an empty hardhat.config.js and hit enter.
Then run:
npm install --save-dev @nomicfoundation/hardhat-toolbox
Configure hardhat with Gnosis.
Step 2: Add Contract Code
We're going to import and use OpenZeppelin's ERC-20 contract implementation.
npm install @openzeppelin/contracts
mkdir contracts
cd contracts && touch ExampleErc20.sol
Now add the following code to your ExampleErc20.sol file:
// SPDX-License-Identifier: MIT
pragma solidity ^0.8.9;

import "@openzeppelin/contracts/token/ERC20/ERC20.sol";

/**
 * @title OwlToken
 * @dev Very simple ERC20 Token example, where all tokens are pre-assigned to the creator.
 * Note they can later distribute these tokens as they wish using `transfer` and other
 * `ERC20` functions.
 * Based on https://github.com/OpenZeppelin/openzeppelin-contracts/blob/v2.5.1/contracts/examples/SimpleToken.sol
 */
contract OwlToken is ERC20 {
    /**
     * @dev Constructor that gives msg.sender all of existing tokens.
     */
    constructor() ERC20("OwlToken", "OWLT") { ///name the token whatever you like, at Gnosis we like Owls so I'm making an Owl token and giving them all to myself!
      _mint(msg.sender, 1000 * 10**18);

    }
}
Now, you are ready to deploy your token contract. Be sure to properly store your mnemonic/private key! The deploy script will be the same as when we deployed the NFT. Also, see here for more info on deploying contracts with Hardhat.
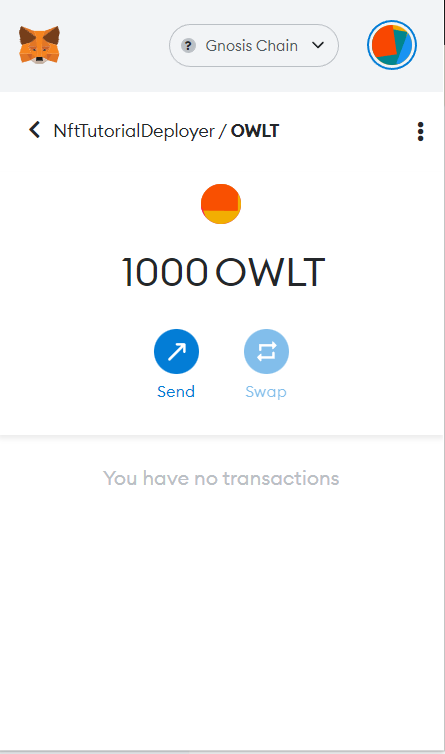
Step 3: Add the token to your wallet to view your balance
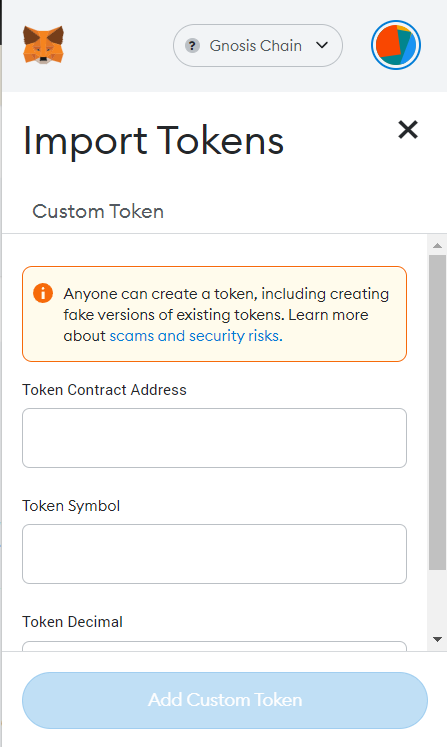
To view your new tokens you have just minted, you'll have to add the ERC-20 contract address of the token to the wallet that you deployed from (the msg.sender address). If you are using MetaMask, scroll to the bottom of the wallet window and you will see an option to "Import Tokens"

Click that, and then enter the token address to import.
You should now see your tokens in your wallet: